


Now that VR headsets are being made available to everyone at affordable prices there is an increasing demand for VR content. Developers are struggling since there is no standard to generate this VR content and it is not easy to reach all of the potential viewers.
In order to make VR a success, we need to provide the audience the content they eager to see before they lose interest and excitement in this new media.
Acknowledgements:
Thanks a lot to Borja Morales (@reality3d) for his great help and support.
Offline rendering for VR
There are already a lot of people generating amazing 2D and 3D content using offline renderers. Extending their work with a VR reality camera that outputs pre-rendered VR videos would have the following benefits:
- Leverage assets already created and immediately generate VR experiences.
- Use more complex and realistic scenarios that cannot be achieved with real-time 3D engines.
- Users would only need modest hardware to run the VR content at a high frame ratio and resolution, and all of them will experience the same quality results independently of their hardware.
- Porting it to WebVR and mobile platforms is easy. This increases the potential audience of users that could enjoy the content.
All of these advantages make videos generated with an offline VR camera to be the easier method to distribute VR content among our audience.
Unfortunately, by now, this also has some disadvantages:
- Head tracking is not considered.
- Due to the way the stereoscopic method is used, some artifacts could appear.
- Lack of interactivity.
Oculus VR camera approach
You can get the camera code and binaries from here:
https://github.com/pedrofe/oculus-camera
Implementation
The following is an Oculus VR camera implementation built for the Arnold renderer, a Monte-Carlo unidirectional path-tracer developed by Solid Angle. The implementation is simple, basically two cameras offset by a distance with a specific 360º projection. But there are some important steps to avoid artifacts and to expose to the Developer some convenient parameters that will provide him the flexibility to work in different scenarios.
Here is the full list of attributes for the Oculus Camera:
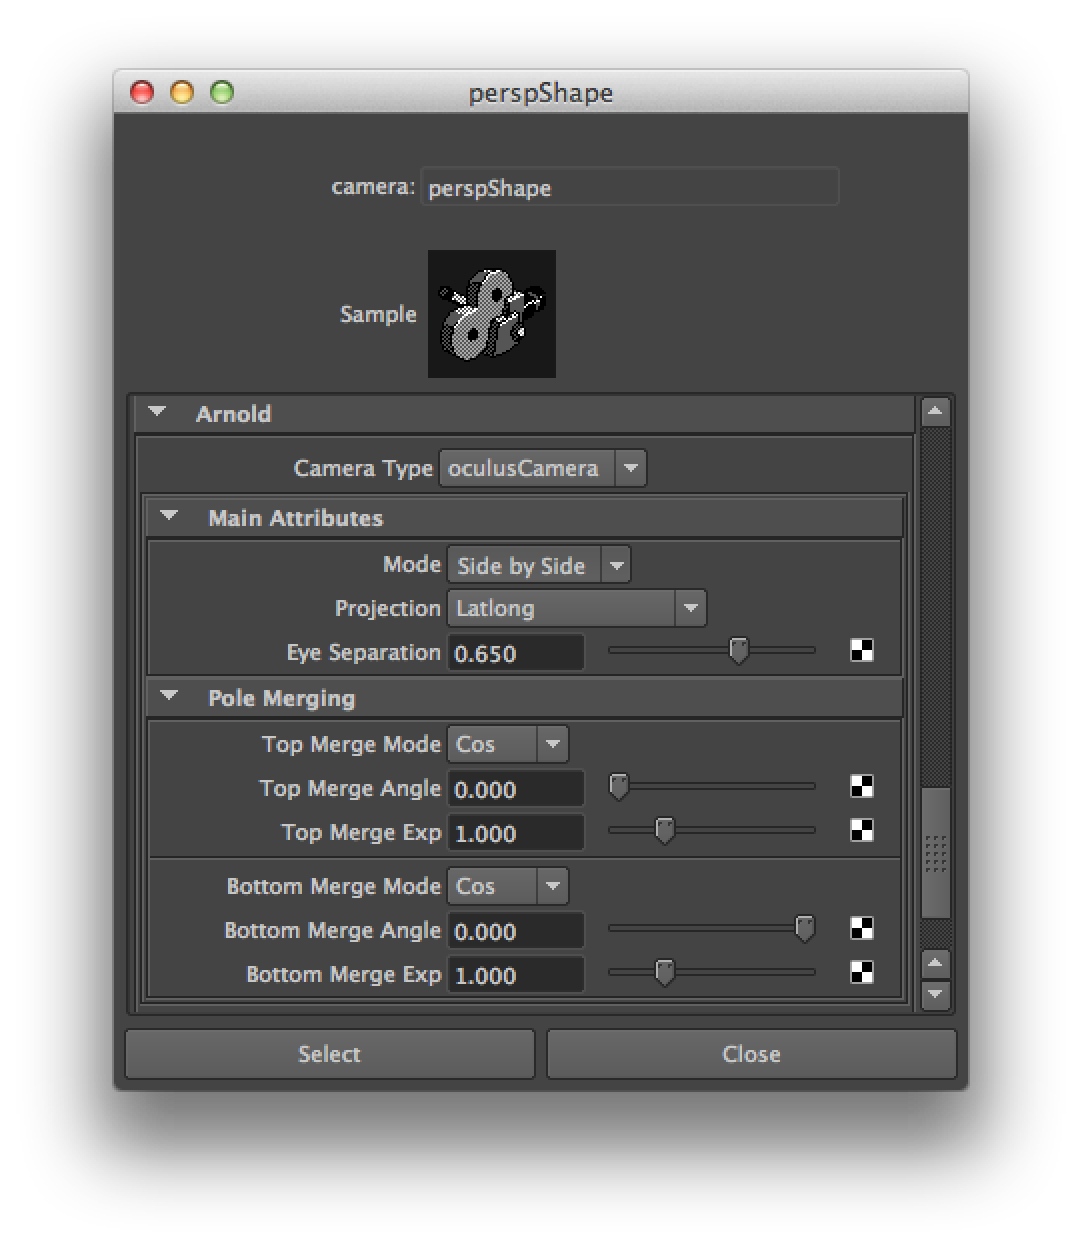
Mode:
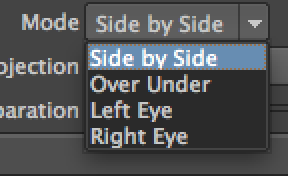
There are four mode options available so that you can get the result that better adapts to your pipeline.
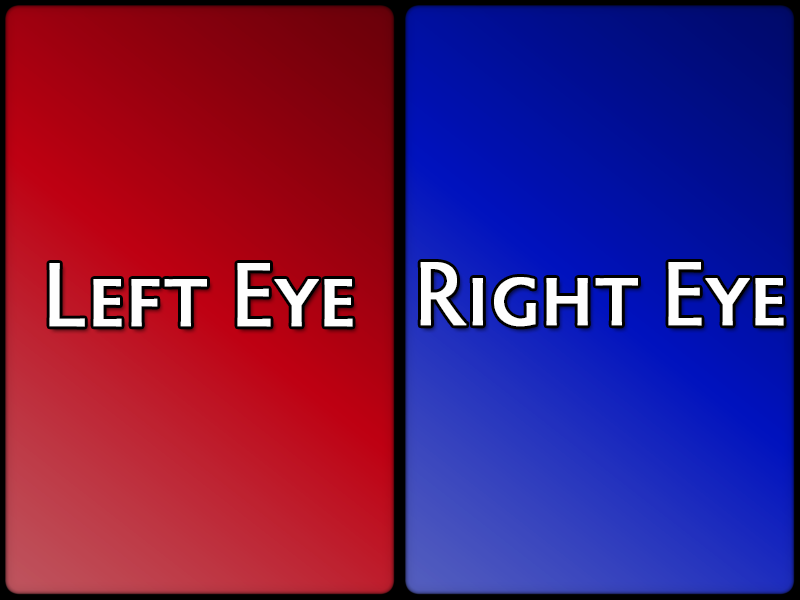
Side by Side
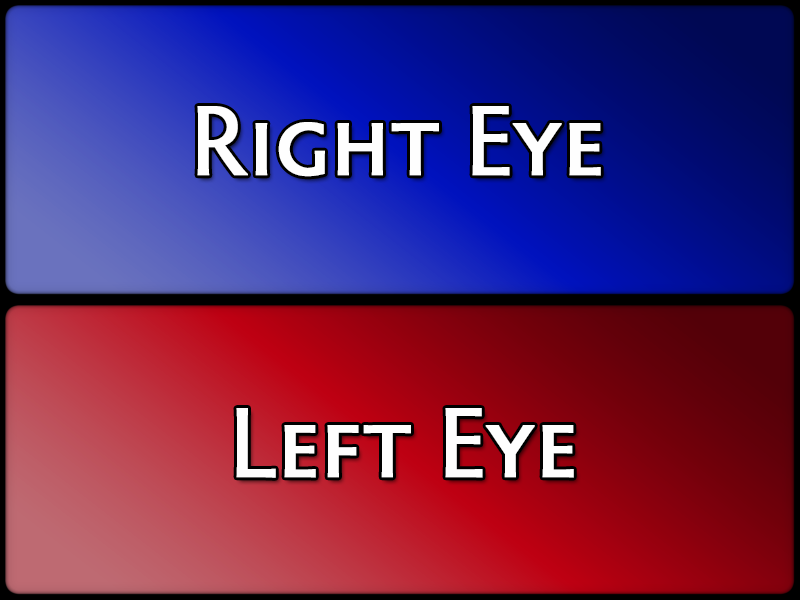
Over Under
Projection:
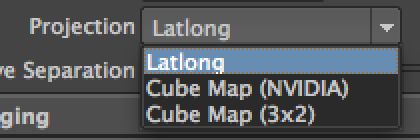
Depending on the selected projection, and options, each sample will correspond to a ray direction so that all of the space around the camera is completely covered.
LatLong Projection

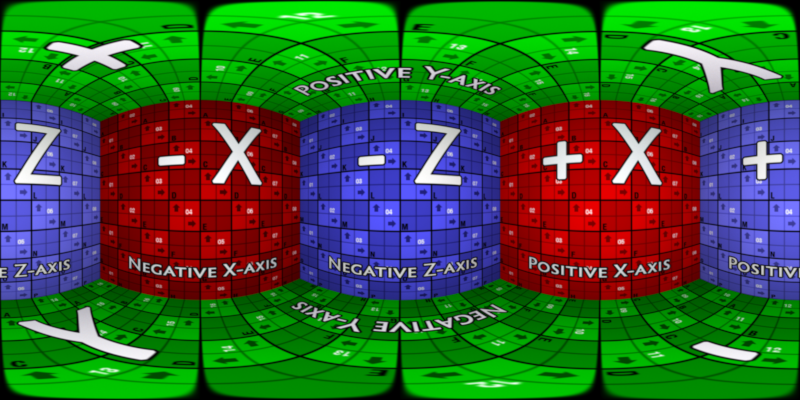
NVIDIA Cube Map
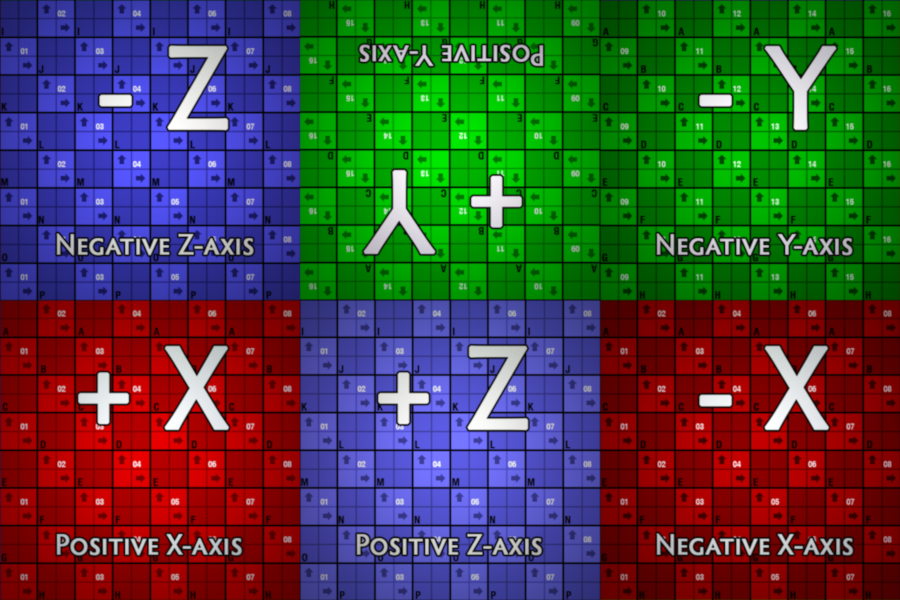
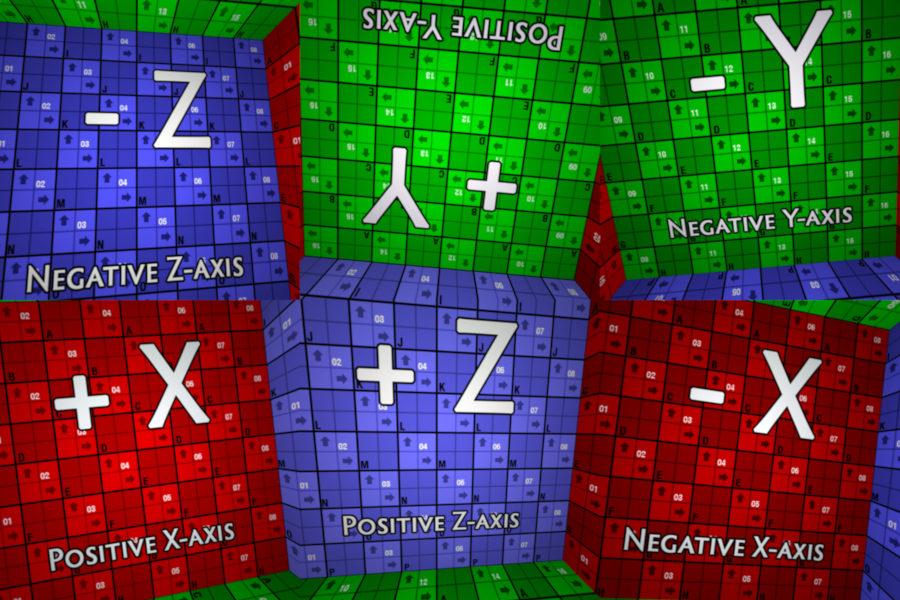
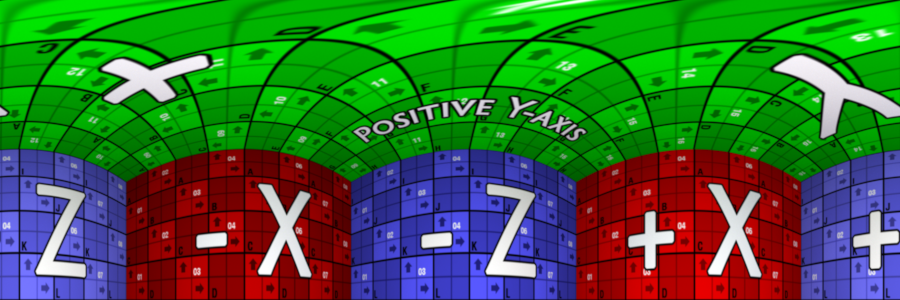
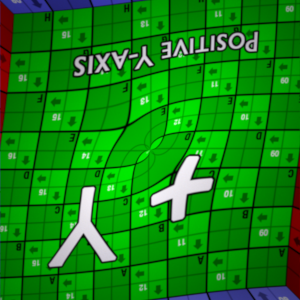
3×2 Cube Map
Here you will find an explanation about the NVIDIA Cube Map format.
Thanks a lot to Mirada Studios CG Supervisor Julian Sarmiento, that helped a lot to define and test the 3×2 Cube Map format.
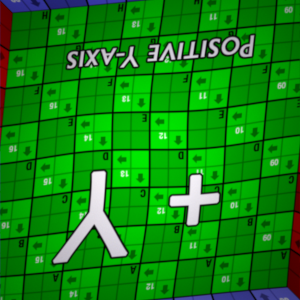
The 3×2 Cube Map has the advantage of better aspect ratio images and that it has four planes (positive X, Y and Z, and negative X) that are contiguous as you can see in this image:
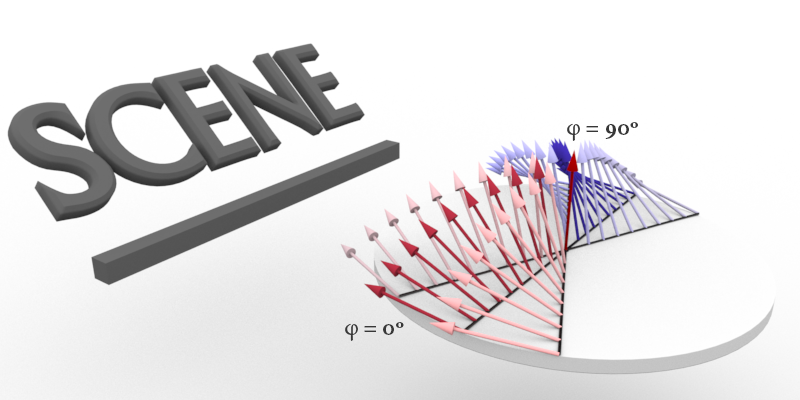
Eye separation:
![]()
Defines the separation between the right and the left camera, needed to achieve a stereoscopic effect.
The camera origin position is updated for each sample and displaced from the center perpendicularly to the ray direction. Here is a picture explaining this.
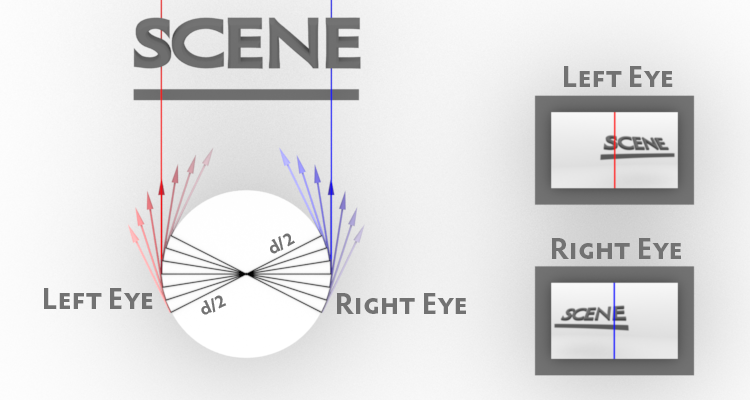
Doing this per sample level and not per pixel creates a better result than using two physical cameras.
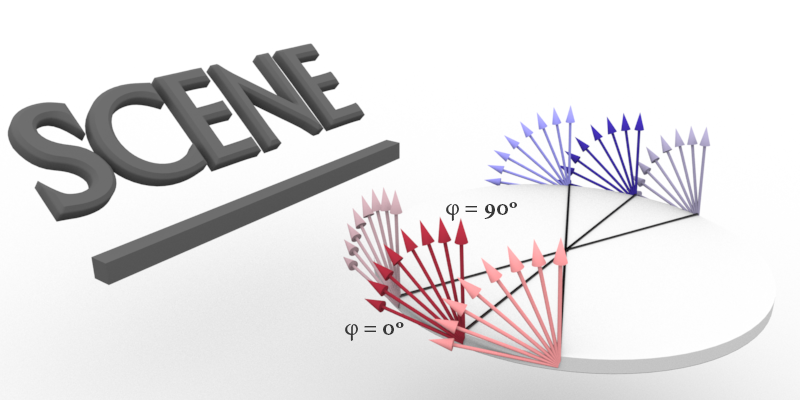
Pole merging:
While this method creates a very nice 3D effects for objects around the viewer, some nasty artifacts will appear at the top and bottom poles. This is because the camera offset makes it impossible for the rays to reach the top and bottom positions as you can see here:
And here you can see an example of how poles look like in this case:
We can fix these artifacts by smoothing the camera displacement when rays point upwards or downwards. This solution will remove the stereoscopic effect in the poles, but in practice, it is not very noticeable. In this case, the camera rays will look like this:
The pole merging will generate a result like this:


Different settings are provided to control this pole merging so it can be adjusted depending on the scene.
First, top and bottom poles parameters are independent as they could have different requisites in your scene. For example, the pole merging at the floor might need to be very smooth if it has lot of detail, but top merging can be more aggressive if it has a flat color, giving the upper hemisphere a more relevant stereoscopic effect. An aggressive merging at the top will look like this:
Merge Mode:
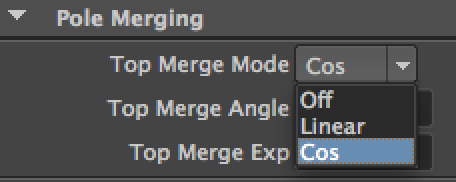
Additionally, the Oculus VR Camera exposes three parameters to define the merging function. Usually a Cosine function (Cos) will be smoother and less prone to artifacts.
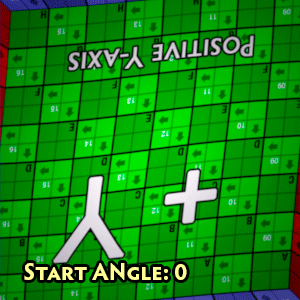
Merge angle:
![]()
Defines the angle in degrees from where the merge starts to take effect. The nearer the angle to the pole (90º top or -90º bottom), the bigger stereoscopic effect you will see below it, but the most probable artifacts will appear at the poles.
Below you can see the difference between a start top angle from 0 to 80 using a cos merging function:

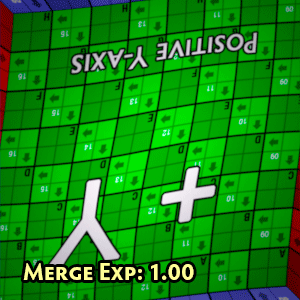
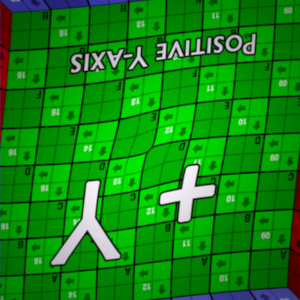
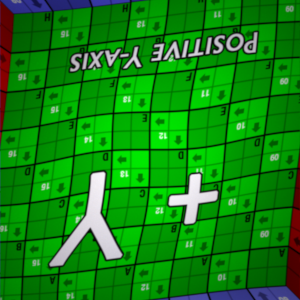
Merge Exponent:
![]()
When using the Cosine (Cos) function of the Merge mode, Merge Exponent will raise the Cosine function to the power defined in this parameter. In practice, it defines how fast the merge will take place in the merge poles interval. Here you can see some example values:
Pole merging Workflow
To maximize the stereoscopic effect in the scene while avoiding poles artifacts, the top and bottom poles can be adjusted independently to better suit the specifics of a scene.
The artifacts at the poles can be of two different kinds:
Distortion artifacts:
The single image you see from an eye has some deformations at the poles. Perpendicular lines do not meet at 90 degrees. These artifacts tend to appear as you increase the Merge Angle. Some examples:
Stereoscopic artifacts:
If you increase the Merge Exponent to avoid deformations as a result of a high Merge Angle value, you might find stereoscopic artifacts. Here if you take a look at a single eye image, you might see a different distortion, but when you see both right and left images you will notice a circular wave on the pole. Here is an example:
Right eye / Left eye: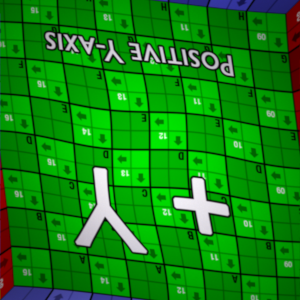
The workflow that works for me is the following:
- Increase the Merge Angle until you get a correct amount of stereoscopic on all the area of interest.
- If artifacts have appeared on the poles, increase the Merge Exponent until they are not noticeable.
- If the artifacts are still noticeable, slowly decrease the Merge Angle.
Advantages / Disadvantages of the Oculus VR camera approach
Advantages:
- It works with any scene component that can be rendered in an offline renderer. Meshes, Hair, Particles, Volumetrics and complex shading networks.
- Easy learning curve to begin to create VR content. Just add the Oculus VR camera to your existing project.
- Modest hardware requisites to reproduce the content. Any platform that can reproduce a video with the required projection is fine to experience the generated content.
- Content easy to distribute either as a video file or via video streaming. It can be reproduced using a dedicated software or app, or with web standards like WebGL and WebVR.
Disadvantages
- Poles: By default, poles will show very evident artifacts. This requires that you adjust the stereoscopic effect for each scene and smooth it near the poles, thus diminishing the stereoscopic effect.
- Tilt: Due to the way the stereoscopic effect is done, tilting your head will destroy the stereoscopic perception.
- Parallax: When you move your head along any axis there is a change in the viewpoint that the offline VR scene can’t take into account. This can diminish the immersion of the experience, since we can only react to head rotations.
Example: Mery Video
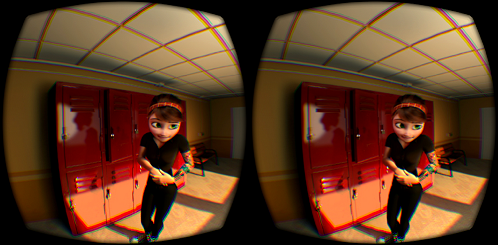
Making this video was pretty easy. The following was done:
- Add an Oculus camera and adjust it with the correct parameters.
- Fix the scene so that you can look in any direction. Behind the windows some images were added to simulate the outdoor as well as a couple of columns to hide some lighting artifacts that didn’t appear in the original scene camera.
- A single frame with the credits was rendered and added back to the final video inside Nuke.
The final video can be seen here:
http://pedrofe.com/rendering-for-oculus-rift-with-arnold/
Derived projects from this video:
Future developing
Parallax
Just now, translation movements of your head will not have a response in the stereo images you are watching. Creating a method that will simulate this parallax effect when you move your head will have the following advantages:
- More immersive experience.
- Less dizziness.
- Stereoscopic effect will work even if you tilt your head.
- No issues at the poles.
- Eventually, it could require less render time than current method.
Anyway, it will also have some disadvantages:
- Position tracking headset is needed (that is not possible just now in most cell phone devices). But even without it, features as better tilt movement and not artifacts at the poles would be useful.
- A more complex rendering workflow will be needed.
- A custom video player with more hardware power will be required.
Here is a video of my current investigation about this problem:
Mixing real time engines with offline generated videos
Combining pre-rendered videos with real time engines could give the best of two worlds: Highly detailed and realistic environments with interactivity.
Maybe the first logical use of this could be a stereoscopic cubemap for far away environments and realtime models for near and interactive objects. But once that is done, probably more complex and advanced uses could be achieved.
The main challenge in this scenario will be to make a seamless integration of the offline and real time assets. But if done correctly, results could be amazing even using modest machines. This could bring a new experience to users, something between games and films.